


🌸 Light Up Your Home: The Ultimate Guide to Installing Your Tulip Ceiling Light
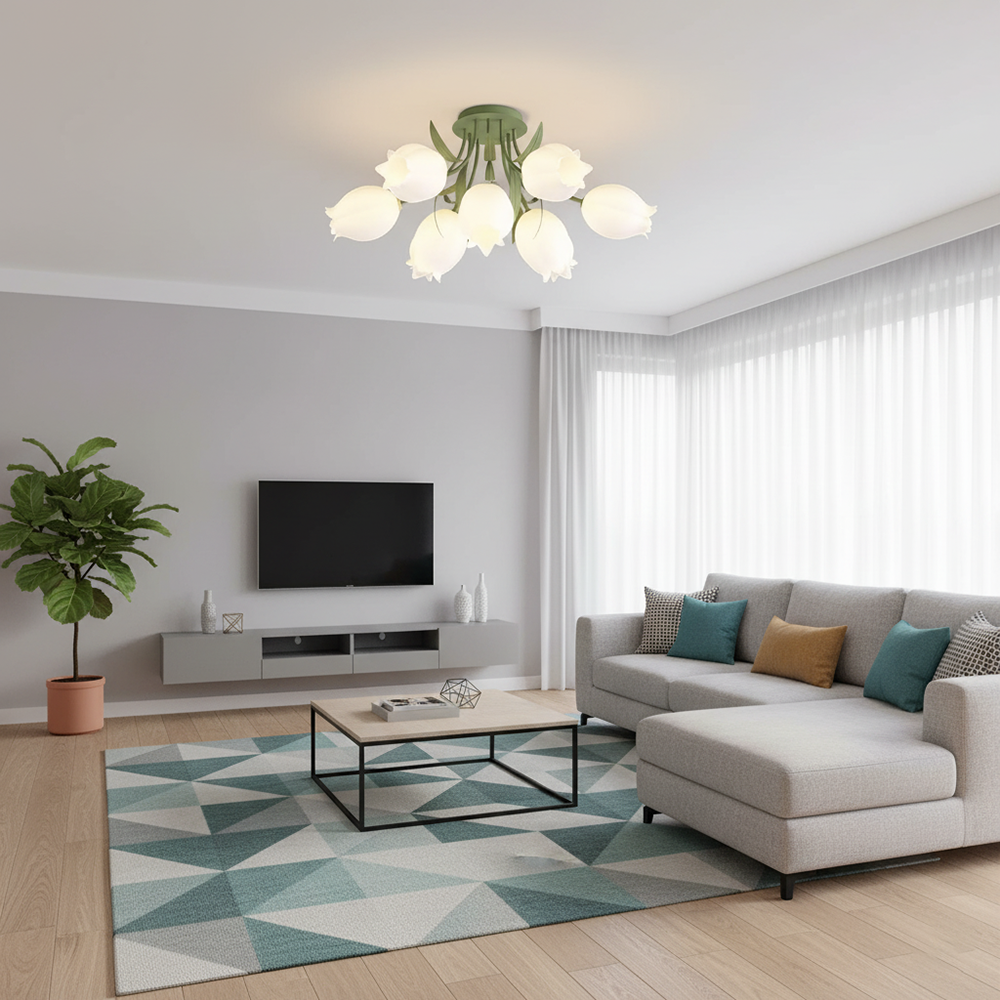
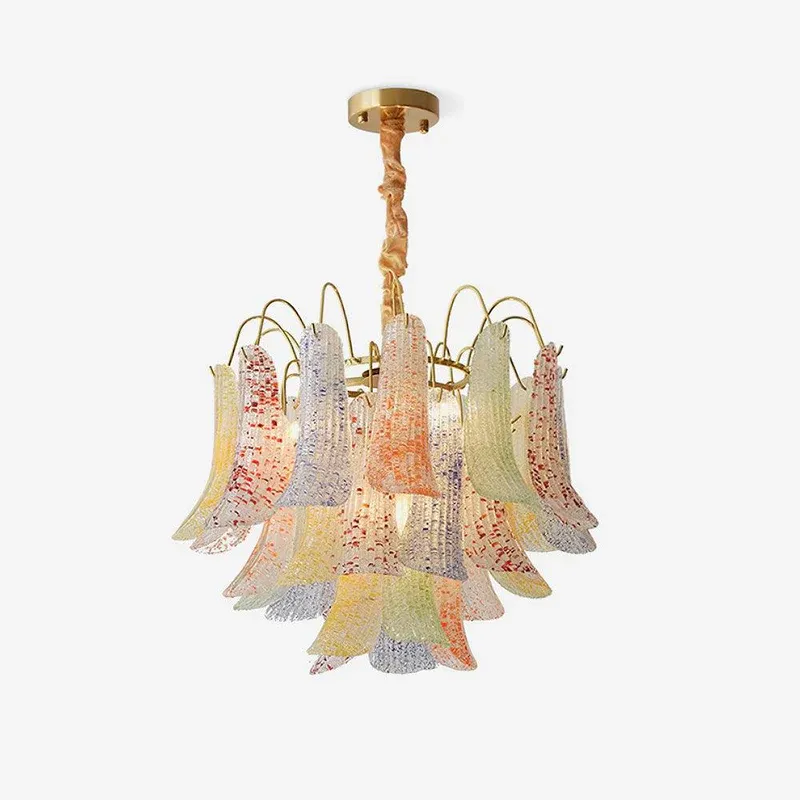
Tired of ordinary lighting? This romantic, pastoral-style Ricko Ceiling Light will instantly bring vitality and charm to your room! Don't worry about the installation difficulty—we've prepared the most detailed "Two-Phase" Installation Guide so even beginners can easily become wiring experts!

💡 Safety First: Your Pre-Installation Checklist
Before you begin any operation, please ensure you have the following tools and remember the most crucial safety principle:
Tool List:
- Safety Tools: Insulated gloves, voltage tester pen, stable ladder.
- Installation Tools: Electric drill (for making holes), screwdriver/electric screwdriver, wrench, tape measure, pencil.
- Lamp Components: Verify all parts in the package are present (lamp body, base plate, lampshades, screw pack, mounting bracket).
⚠️ Absolute Safety Rule:
- You MUST turn off the main power switch to the room before installation! Use the voltage tester to confirm the wires are completely de-energized.
- If you are unfamiliar with electrical work, please consult a professional electrician.
🛠️ Phase One: Desktop Pre-Assembly – Building the Flower's "Skeleton"
The goal of this phase is to assemble all the light fixture components (stems, base, bracket, wiring) on a table into a complete unit that is ready to be mounted on the ceiling.
Step 1: Assemble the Mounting Bracket and Connect the Ground Wire
- 1.1 Assemble the Bracket: If the mounting bracket (the cross-shaped metal piece) comes in two parts, first use screws to secure them together into a complete cross.

- 1.2 Attach the Ground Wire: Locate the yellow-green ground wire (usually a short copper wire with a ring terminal) and securely fasten it to the bracket using a screw. This is the safety grounding of the lamp, which is critically important.image_871d18.png, image_871cff.png, image_871cf6.png)
- 1.3 Prepare Wire Terminals: Prepare the quick-connect terminals (such as the orange WAGO connector) that will be used to connect to the ceiling wires, ensuring the lead wires are ready.

Step 2: Fix the Flower Stems to the Base Plate
- 2.1 Inspect and Classify Stems: Examine the curvature and length of each flower stem. Sort the stems by their intended position (e.g., left curve vs. right curve, or short vs. long) to ensure a balanced final look. Identify the wires coming from each stem (e.g., Black wire = Live (L), White wire = Neutral (N)).

- 2.2 Remove Fasteners: Before inserting the stem into the base plate, remove the washer and nut/ring from the threaded end of each flower stem. These will be re-used inside the base plate to secure the stem.

- 2.3Thread the Wires: Pass the wire from each flower stem assembly through the corresponding opening on the green base plate (the ceiling canopy).

- 2.4 Internal Tightening: From inside the base plate, use the washer and nut/ring you removed in Step 2.2, and tighten them with a wrench to secure the base of the flower stem firmly to the chassis.

Step 3: Connect and Tidy the Internal Wiring
- 3.1 Central Wiring Connection: Gather the wires (typically white and black) threaded into the base plate from all the flower stems, separating them into neutral and live groups. Connect these bundles to the lamp's main power cable (usually the thicker blue/brown/black wires). Use wire caps or internal terminal blocks for these connections.

- 3.2 Attach the Mounting Bracket: Secure the mounting bracket assembled in Step 1 to the inside of the base plate, typically using side screw holes. This bracket will be used to attach the entire fixture to the ceiling.
- 3.3 Prepare External Ports: Confirm that the external wiring ports are left exposed for connection to the house's power supply once mounted.

Step 4: Install Bulbs and Lampshades
- 4.1 Install Bulbs: Gently screw or insert the correctly sized bulbs into each lamp holder.

- 4.2 Install Lampshades: Carefully place or screw the tulip-shaped glass lampshades onto the lamp holders, one by one. Ensure each shade is secured firmly.

- 4.3 Final Assembly Check: Verify that all stems, shades, and wiring are properly fixed and organized. The fully assembled fixture is now ready for Phase Two: Ceiling Installation.

💡 Phase One Complete: Your Fixture Body is Ready!
Congratulations! By following the detailed steps above, you have successfully and safely assembled all the flower stems, wiring, and the mounting bracket onto the ceiling canopy. Your Tulip light fixture body is now fully formed; all that remains is to securely mount it to the ceiling and connect the power.
Before proceeding to the next phase, please watch the video below to double-check the details of your desktop pre-assembly:
🔩 Phase Two: Ceiling Installation – Lighting Up Your "Secret Garden"
(This phase focuses on securely mounting the fixture body to the ceiling and completing the electrical connection.)
Crucial Reminder: This phase involves working at heights and making electrical connections. Please ensure personal safety is the priority, and double-check that the power is OFF!
Step 5: Install the Mounting Plate and Secure Position (First Step on the Ceiling)
The mounting plate (the X-shaped metal bracket where you attached the ground wire in Phase One) serves as the load-bearing foundation for the entire fixture.
- 5.1 Mark and Drill: Hold the mounting plate against your desired installation location on the ceiling and mark the screw hole positions with a pencil. Remove the plate, use an electric drill to drill holes at the marked points, and insert the corresponding expansion bolts or plastic anchors.
- 5.2 Firmly Secure: Use screws to fasten the mounting plate to the ceiling, ensuring it is robust enough to bear the full weight of the light fixture.
Step 6: Connect the Power Wires (The Key to Safety and Power)
⚠️ Check Again: Use a voltage tester to confirm that the house's power wires are completely de-energized!
- 6.1 Wire Connection: Connect the external wiring ports from the lamp body (the blue and brown/black wires or the wires attached to the quick-connect terminals that you prepared in Phase One) to the Neutral (N) and Live (L) wires reserved in your ceiling. Quick-Connect Tip: If you are using quick-connect terminals, simply strip the insulation off the household wires and insert them directly into the terminals to complete the connection.
- 6.2 Tidy the Cables: Neatly tuck the connected wires and terminals into the space between the ceiling canopy and the ceiling, ensuring they won't be pinched later.
Step 7: Secure the Lamp Body (Hanging the Bouquet in the Garden)
- 7.1 Align and Lift: Carefully lift the fully assembled lamp body (the green base plate with stems and shades) and align it with the mounting plate that is fixed on the ceiling. (We recommend using two people—one to hold the light, one to fix it.)
- 7.2 Side Locking: Use screws through the side holes of the ceiling canopy to tightly secure the lamp body to the mounting plate. Ensure the fixture is flush against the ceiling and does not wobble.
💡 Official Installation Diagram Review
Now that your light fixture is securely mounted and wired, please refer to the official diagram below. Use this as a final checkpoint before testing the power.

This diagram summarizes the critical steps we have just completed (1, 2, 3) and guides you toward the final assembly checks (4, 5)
Step 8: Final Check and Illumination (If Shades Were Not Installed)
Since you completed the installation of the shades and bulbs in Phase One, this step serves primarily as a final review.
- 8.1 Check Shades and Bulbs: Double-check that all tulip glass shades are securely installed and that the bulbs are tightened.
- 8.2 Adjust Stem Styling: Gently bend the tulip stems to adjust the angle of the flowers, ensuring the fixture presents its most natural and beautiful shape.
✅ Final Tally: Test and Enjoy the New Light
- Restore Power: Return to the main switch and flip the power back on.
- Test the Light: Turn on the room switch to ensure all bulbs illuminate correctly.
- Job Well Done: Your Tulip Garden Ceiling Light is successfully installed and glowing! Enjoy the warmth and romance it brings!

Cleaning & Maintenance
- Power off first. Wipe with a clean soft cloth; for glass/acrylic shades use a slightly damp cloth. Avoid strong solvents.
- Every 6–12 months, recheck canopy screws, arm alignment, and shade rings.
- When replacing bulbs, power off and use the same base and equal or lower wattage.
Feel free to share your installed photos and experiences in the comments section below, and let your "Secret Garden" inspire others!